lumix dmc zs100 manual
The Panasonic Lumix DMC-ZS100 is a compact digital camera featuring a 20.1-megapixel 1-inch sensor, 10x optical zoom, and 4K capabilities. Designed for versatility, it combines portability with advanced imaging technology, making it ideal for photographers seeking high-quality results. This guide provides an overview of its features and the importance of the user manual for optimal use.
1.1 Overview of the Camera Features
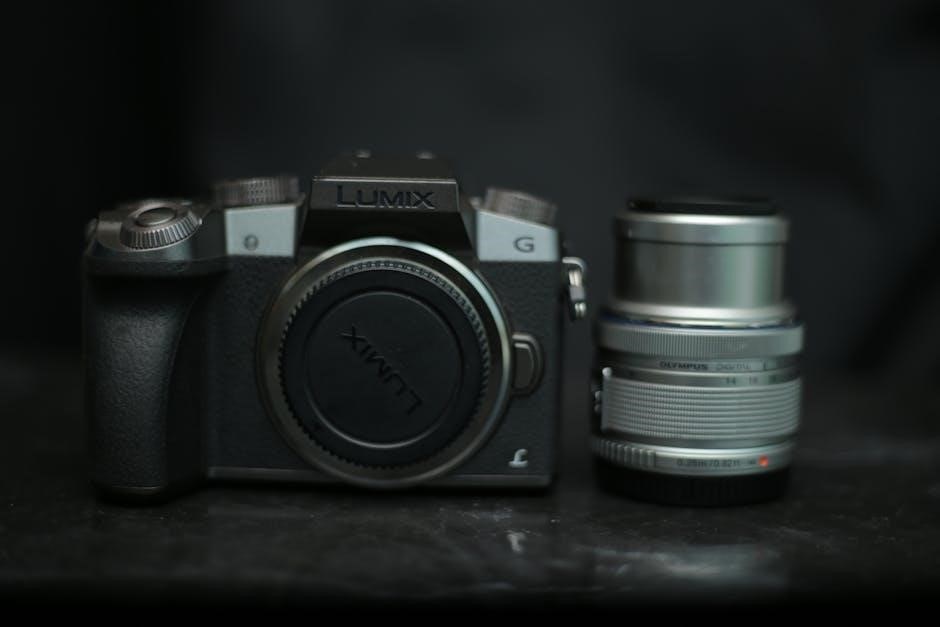
The Panasonic Lumix DMC-ZS100 boasts a 20.1-megapixel 1-inch MOS sensor, delivering excellent image quality. Its Leica DC Vario-Elmarit lens offers a 10x optical zoom (25-250mm equivalent), capturing wide-angle to telephoto shots. The camera supports 4K Ultra HD video and Panasonic’s 4K Photo modes. A 3-inch LCD touchscreen and 0.2-inch electronic viewfinder provide intuitive control and composition. Additional features include 5-axis image stabilization, manual focus, and built-in Wi-Fi for seamless connectivity. These capabilities make the DMC-ZS100 a versatile tool for both casual and advanced photographers.
1.2 Importance of the User Manual
The user manual is essential for understanding the full potential of the Panasonic Lumix DMC-ZS100. It provides detailed instructions for operating the camera, explaining both basic and advanced features. The manual helps users navigate the menu system, troubleshoot common issues, and optimize settings for various shooting conditions. Available in PDF format, it offers comprehensive guidance, ensuring photographers can maximize the camera’s capabilities and resolve technical difficulties efficiently. Referencing the manual is crucial for unlocking the camera’s full functionality and enhancing the overall photography experience.
Key Specifications of the Lumix DMC-ZS100
The Panasonic Lumix DMC-ZS100 features a 20.1-megapixel 1-inch MOS sensor, 10x optical zoom, 5-axis image stabilization, and a 3-inch LCD touchscreen for enhanced photography experiences.
2.1 Sensor and Lens Details
The Panasonic Lumix DMC-ZS100 features a 20.1-megapixel 1-inch High Sensitivity MOS sensor, ensuring excellent image quality with improved low-light performance. Paired with a Leica DC Vario-Elmarit lens, it offers a 10x optical zoom (25-250mm equivalent focal length) for versatility in capturing both wide-angle and telephoto shots. The sensor’s larger size compared to traditional compact cameras enhances dynamic range and color accuracy, while the lens’ optical design minimizes distortions and aberrations, delivering sharp and detailed images across the zoom range.
2.2 Zoom and Image Stabilization
The Panasonic Lumix DMC-ZS100 boasts a 10x optical zoom, extending from a wide-angle 25mm to a telephoto 250mm equivalent focal length. This versatile range makes it ideal for capturing diverse scenes, from landscapes to distant subjects. The camera is equipped with a 5-axis Hybrid Optical Image Stabilizer (O.I.S.), which effectively reduces blur caused by handshake or movement, ensuring sharper images even at maximum zoom or in low-light conditions. This stabilization system is particularly useful for maintaining clarity during video recording and telephoto photography.
2.3 Display and Viewfinder

The Panasonic Lumix DMC-ZS100 features a 3.0-inch LCD touchscreen with touch functionality, enabling intuitive menu navigation and control. Additionally, it includes a 0.2-inch electronic viewfinder (EVF) with 100% coverage, providing a clear and accurate preview of the scene. The EVF is particularly useful in bright lighting conditions, where the LCD may be less visible. Both the LCD and EVF offer sharp resolution, ensuring precise framing and focus control. These displays enhance usability, allowing photographers to capture high-quality images effortlessly.

Navigating the User Manual
The Panasonic Lumix DMC-ZS100 manual is divided into basic and advanced sections, with a detailed PDF guide available for download. It covers camera setup, features, and troubleshooting.
3.1 Basic Owners Manual
The basic owner’s manual for the Panasonic Lumix DMC-ZS100 provides essential guidance for initial setup and operation. It covers fundamental features like camera components, shooting modes, and menu navigation. Designed for newcomers, the manual ensures a smooth transition into using the camera’s core functions. Instructions are clear and concise, helping users understand basic operations quickly. Reading this manual before first use is recommended to maximize functionality. Advanced features are detailed in the PDF manual, which is available for download from Panasonic’s official website.

3.2 Advanced Features and PDF Manual
The PDF manual for the Panasonic Lumix DMC-ZS100 delves into advanced features, offering detailed guidance for experienced users. It covers settings like manual exposure control, RAW image capture, and custom functions. The manual also explains how to use the camera’s 4K capabilities, including 4K Photo and Post Focus modes. Additionally, it provides instructions for Wi-Fi connectivity and transferring images. This comprehensive guide ensures users can unlock the camera’s full potential. The PDF manual is available for download from Panasonic’s official website, serving as an invaluable resource for mastering the DMC-ZS100’s sophisticated features.
Operating the Camera Manually
Master manual control with the Lumix DMC-ZS100 by adjusting aperture, shutter speed, and ISO for precise exposures. Manual focus and white balance settings offer creative freedom and accuracy.

4.1 Adjusting Aperture and Shutter Speed
To adjust the aperture and shutter speed on the Panasonic Lumix DMC-ZS100, use the mode dial on the camera’s top. Select A mode for aperture priority and use the control dial near the shutter button to adjust the aperture value. For shutter speed, select S mode and use the same control dial to set your desired speed. In M mode, both aperture and shutter speed can be manually adjusted for full creative control. This allows you to customize exposure settings to achieve the desired effect in your photos.
4.2 Manual Focus and White Balance
To enable manual focus on the Panasonic Lumix DMC-ZS100, switch the focus mode to MF using the focus mode switch on the camera’s side. Then, use the control ring around the lens to adjust focus. For white balance, press the left arrow button to access the quick menu, navigate to the white balance icon, and select the appropriate preset (e.g., sunlight, incandescent) based on lighting conditions. These adjustments ensure precise control over focus and color accuracy, enhancing your photography experience.
4.3 Using the Built-In Flash
To activate the built-in flash on the Panasonic Lumix DMC-ZS100, press the flash button located on the left side of the camera. Once activated, use the control dial near the shutter button to select the desired flash mode, such as Auto, Forced Flash, or Slow Sync. The flash automatically adjusts to suit the scene, but manual selection ensures optimal lighting in various conditions. This feature enhances low-light photography and provides creative control over your images.
Troubleshooting Common Issues
Address common issues like camera freezing, system errors, or photo transfer problems. Refer to the manual for reset procedures, error solutions, and connectivity troubleshooting.
5.1 Camera Freezing and System Errors
If your Panasonic Lumix DMC-ZS100 freezes or displays system errors like “OIS error,” restart the camera by turning it off, removing the battery, and waiting a few seconds. For persistent issues, perform a factory reset via the menu. Ensure the firmware is updated to the latest version. If the problem recurs, consult the troubleshooting section in the manual or contact Panasonic support for assistance. Regularly backing up settings can prevent data loss during resets.
5.2 Transferring Photos and Videos
To transfer photos and videos from your Panasonic Lumix DMC-ZS100, connect the camera to a computer using the provided USB cable. Ensure the camera is set to “PC” mode. You can also transfer files using an SD card reader or wirelessly via the camera’s built-in Wi-Fi. For Wi-Fi transfers, use the Panasonic Image App on your smartphone or tablet. If the camera is not recognized, check the USB connection or restart the camera. The manual provides detailed steps for both wired and wireless transfers, ensuring compatibility with your device.
5.3 Resetting to Factory Settings
To reset the Panasonic Lumix DMC-ZS100 to factory settings, navigate to the camera’s menu system. Select the “Setup” or “Settings” menu, then choose the “Reset” option. Confirm the action when prompted. This will restore all settings to their default values, erasing any custom configurations. Note that resetting does not delete photos or videos but will remove any personalized settings. Refer to the manual for detailed steps to ensure a successful reset and to back up important settings if needed.
Additional Features and Settings
The Lumix DMC-ZS100 offers advanced features like 4K video, 4K PHOTO, and Post Focus for precise image capture. It also includes an electronic viewfinder for enhanced composition and built-in Wi-Fi for seamless connectivity, ensuring versatile and high-quality photography experiences.
6.1 4K Video and Photo Modes
The Lumix DMC-ZS100 excels with its 4K Ultra HD video recording capabilities, capturing detailed and vibrant footage. The 4K PHOTO mode allows users to extract 8MP images from 4K video, perfect for capturing fleeting moments. Additionally, the 4K Post Focus feature enables selective focus adjustment after shooting, enhancing creative control. These advanced modes combine with the camera’s electronic viewfinder and intuitive touchscreen, providing a seamless and high-quality imaging experience. Built-in Wi-Fi further enhances functionality, allowing easy sharing of 4K content and photos.
6.2 Wi-Fi Connectivity
The Lumix DMC-ZS100 features built-in Wi-Fi connectivity, enabling easy sharing and transferring of photos and videos. Users can connect the camera to smartphones or tablets via Panasonic’s dedicated app, allowing seamless image transfer and remote shooting. This feature enhances convenience for social media sharing and backup. The Wi-Fi functionality also supports 4K content transfer, ensuring high-quality media can be shared effortlessly. This connectivity option adds versatility to the camera’s portability, making it ideal for modern photographers who value accessibility and efficiency in their workflow.